We do offer a bulk import feature for products, but it has some limitations. The more comfortable way is to use WP All Import. This also requires extension for WP All Import.
In order to make an import, you need a unique product ID or EAN. On Amazon, this would be the ASIN. Without a list of IDs, no import can be made.
In our case, we will simply import some products from Alternate. Whereby we pass here only the relevant fields. The remaining product data will then be added independently by affiliate-toolkit.
In our case, we use an Excel list here. We have copied these products from the data feed of AWIN.
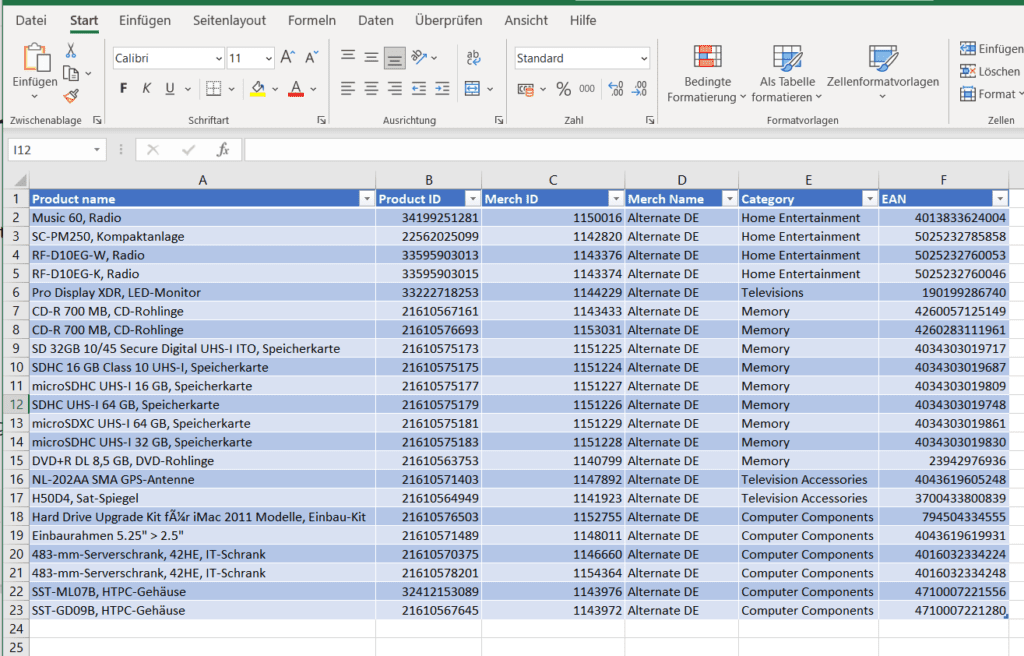
We will now import this Excel list as products into affiliate-toolkit.
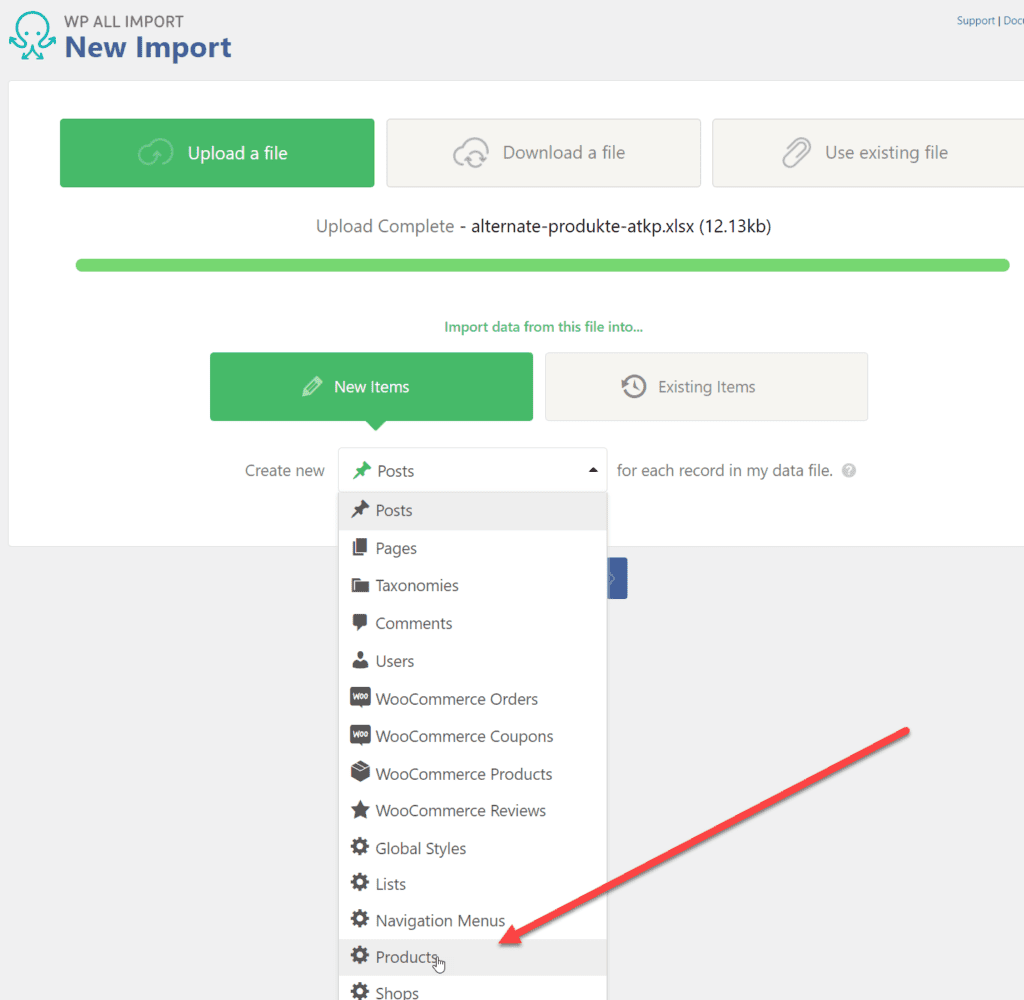
Here you then select "Upload file" and choose "Products". Attention: Depending on which plugin you have installed, there may be several products here. Like e.g. also with WooCommerce products.
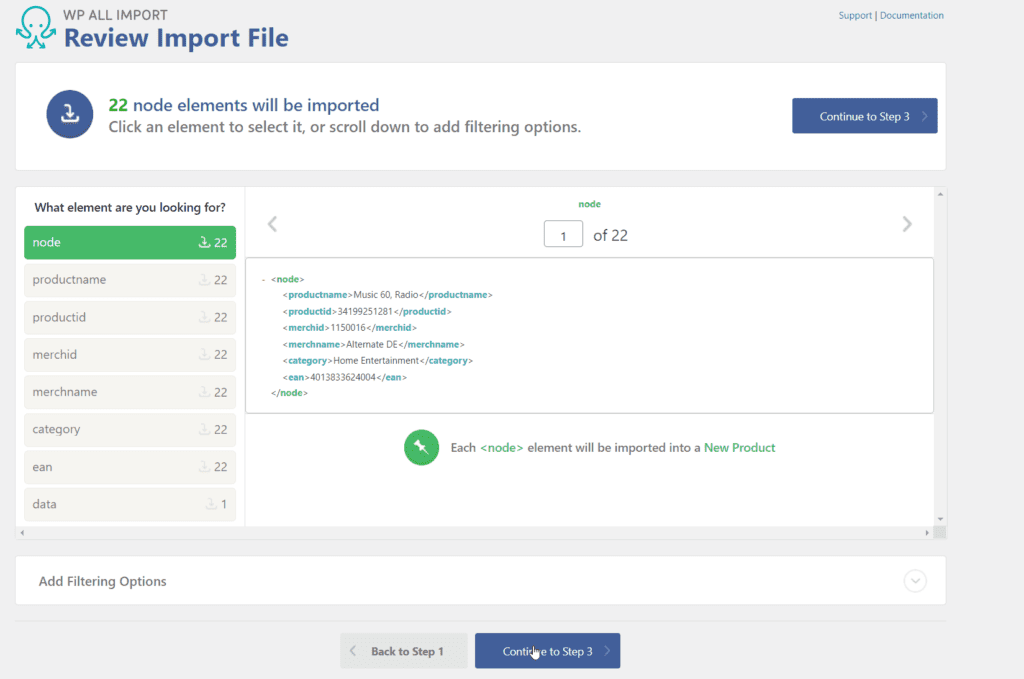
Then check the import file using Review. Mostly you can click here directly further.
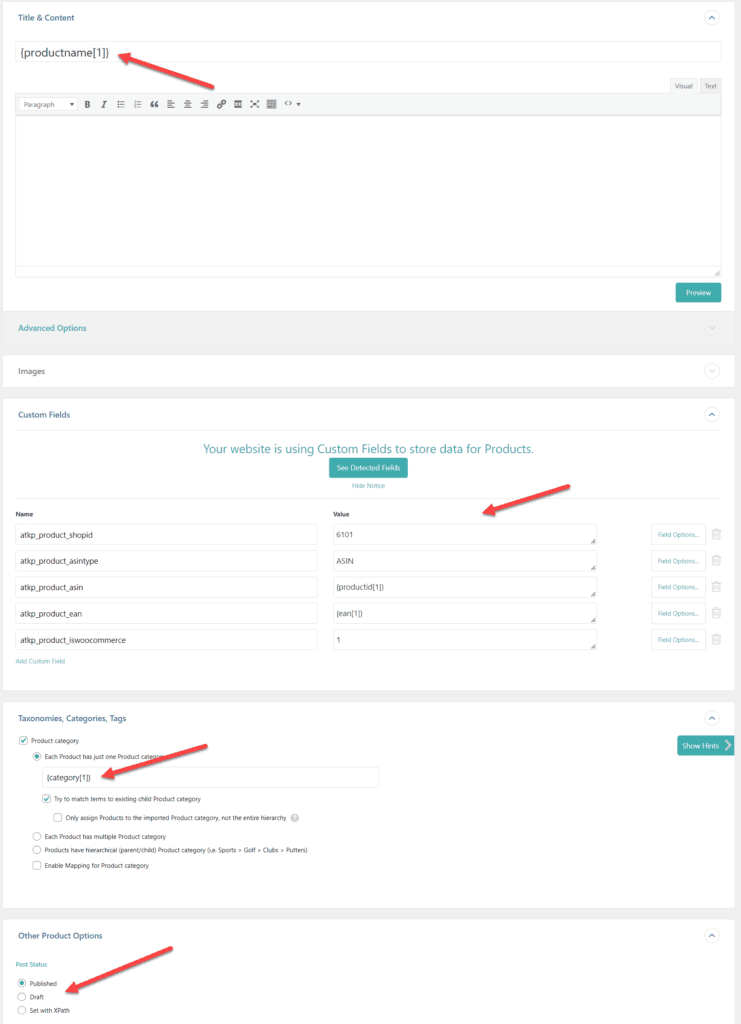
Then you link the fields that you want to take over.
In our example we set the product title, unique ID, EAN, category and product status. Also, we mark the product that it is a WooCommerce product.
How to find the store ID for your products:

The field for "atkp_product_iswoocommerce" is optional. This is only necessary if the product will be copied to WooCommerce later. You can just leave it out.
The field for the EAN is also not a required field.
The "asintype" can have an ASIN, EAN or a TITLE as value. Depending on the selected type, the corresponding title must then be entered in the "asin" field.
Basically you can "overwrite" all fields of affiliate-toolkit. That is, each field that is set overwrites the metadata. Whether product information or price.
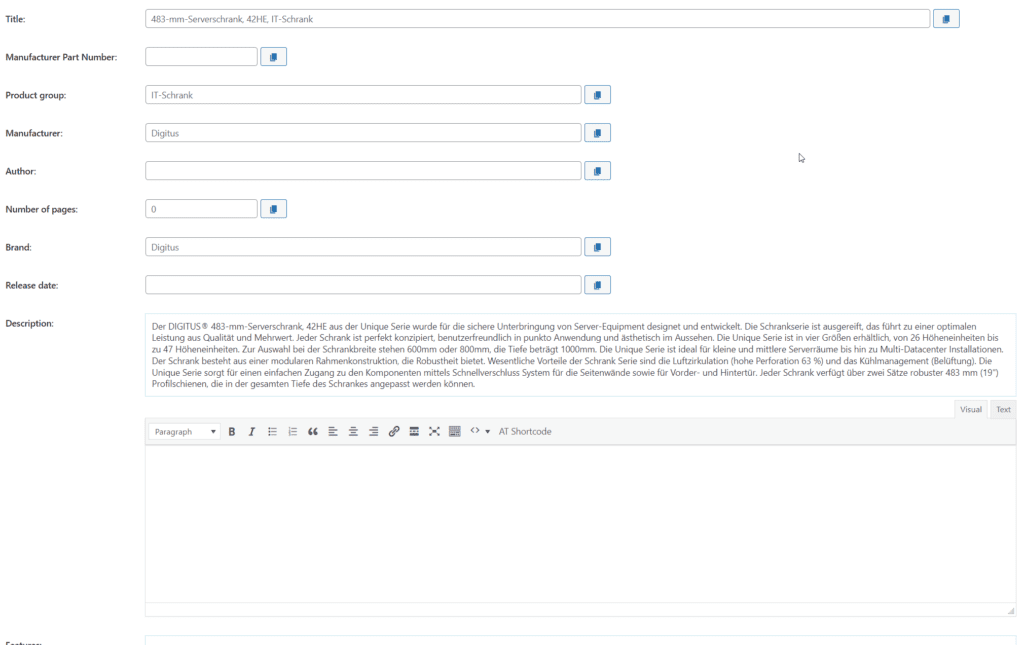
Here is a list of system fields:
For custom fields we recommend creating custom fields via our extension or directly via Advanced Custom Fields.
In the next step we now confirm the import of our products.
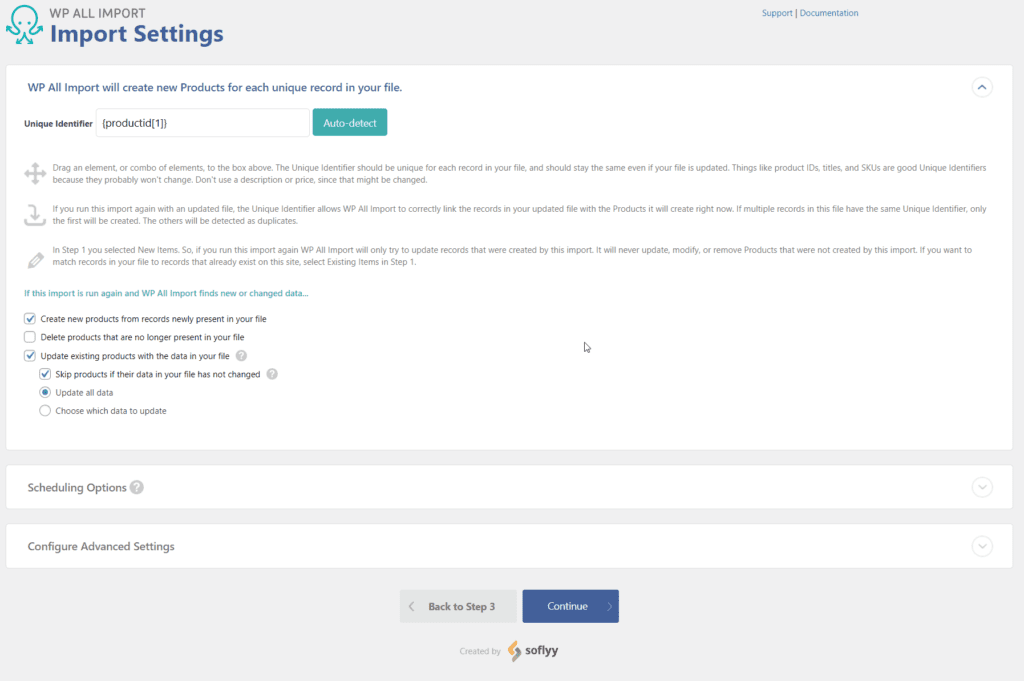
With the import, all products have now been created. These products are of course without picture, price or other information. This import is done by affiliate-toolkit itself.
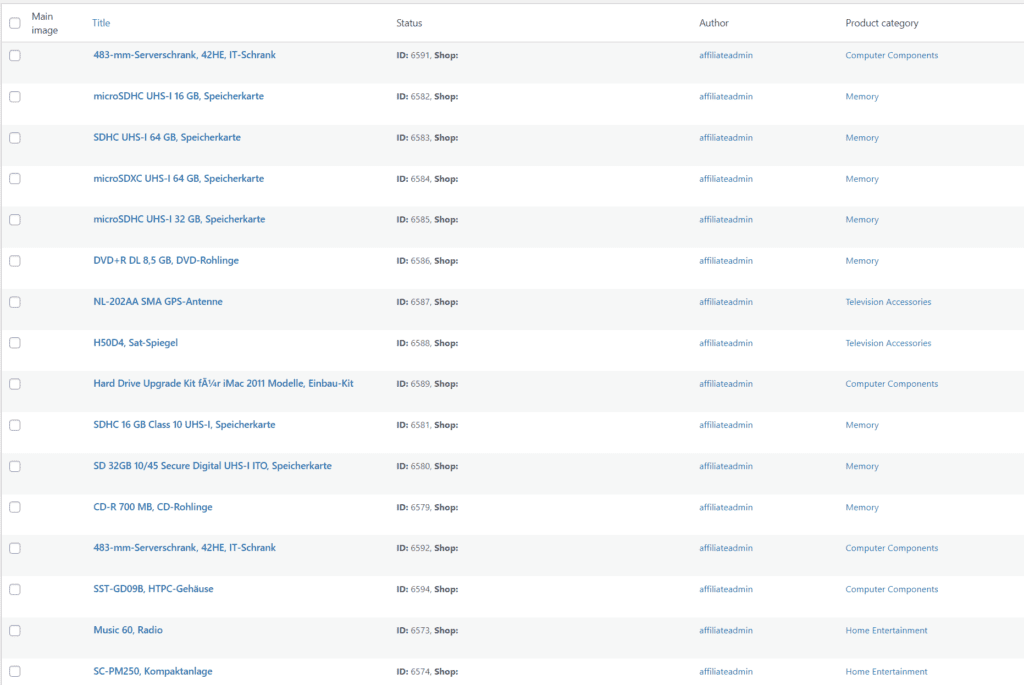
Here you can still see the detailed view of a product:

You can see that the store and the product IDs have been assigned correctly. And below it is also indicated that the product will be updated with the next update.
The corresponding hook for WooCommerce is also set:

Either you wait until the system automatically updates the products in the background or you start the whole process manually.
For the manual way we click into the settings and change the cronjob type to "External with output".
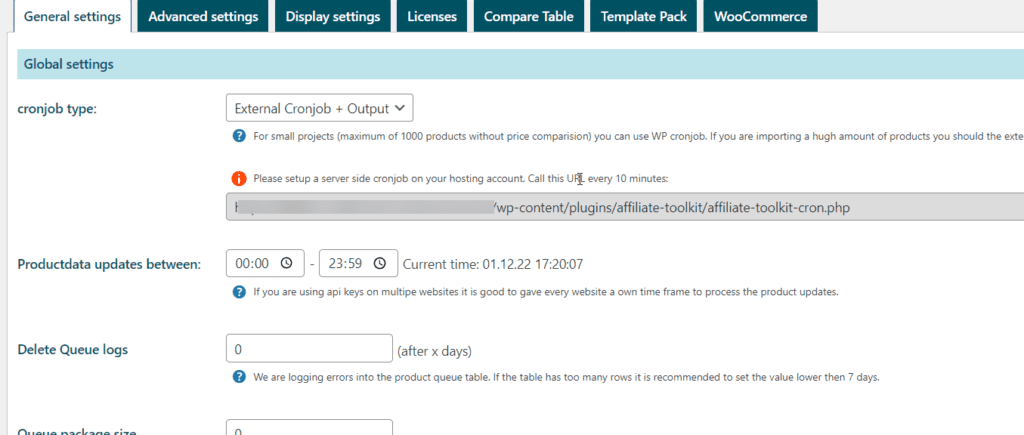
The time window should of course be configured for our current time. Since otherwise no update will be performed.
We now copy the URL which is displayed below and paste it into the address bar of our browser. This call may take longer depending on the number of products, stores, etc. It may also be possible to abort the script. In that case, simply call again after 15 minutes.
Recommendation: Alternatively, simply configure a server-side cronjob. Then you do not have to do this by hand.
If successful, you will now get this output displayed in the browser:
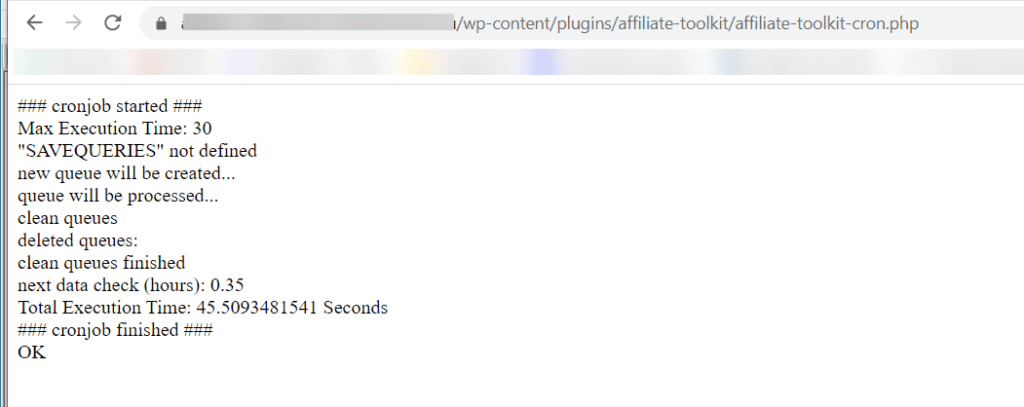
After the procedure, be sure to reset the settings for cronjob type and time back to the original value!
In the queue you can also see that all products have been retrieved properly:

Here is the detail view:

If an error had occurred, the "Status" in this listing would be Error and to the right of the column you would see the error message.
In the overview you can now also see images and product data:
