In this article we will set up Shopping24 interface with affiliate-toolkit. You can use it to connect products and lists from countless stores.
This network is a CPC network. You will not receive affiliate commission per referred sale, but will receive an amount per click on the link.
You can request the access data for S24 directly via our website. You can find the form here. Fill it out and after a few days you should receive a response.

Requests are reviewed and approved individually. If your website has only thin content or is new, it may be rejected.
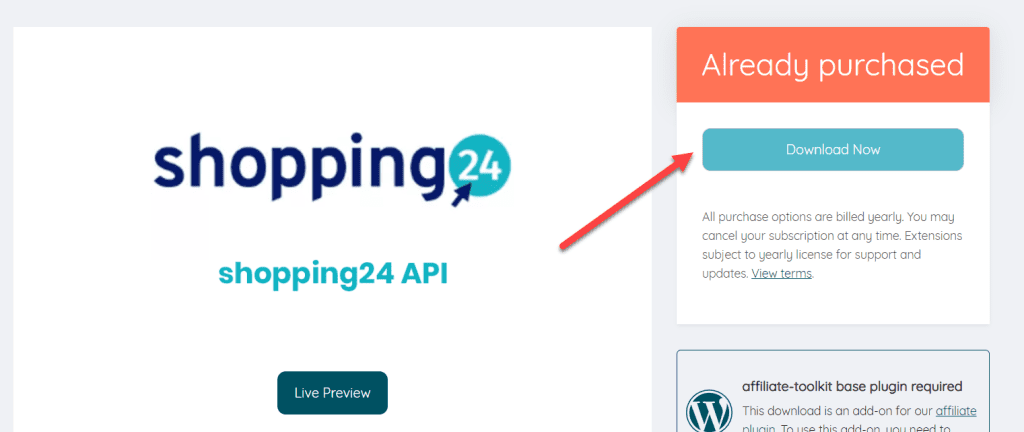
Download the extension from our website. To do this, click on "Download now":

You can then upload and install the ZIP file normally via the WordPress plugin installation. After activation, the S24 interface is also selectable under Shop API.
Once you have all the credentials and installed the extension, you can set up the store in your WordPress.

The designation can be freely selected and is only used internally.
Here you select Shopping24.
Insert here the APP-ID which you have received from S24.
Insert here the APP-Key you received from S24.
Insert here the Sub-ID which you have received from S24.
Here you can specify the default size of a small image. By default, this is 55px width. You can set up to 500px maximum width.
As with Image Size Small, the image size can be overridden. This is here 300px width. Also here you can set up to 500px maximum width.
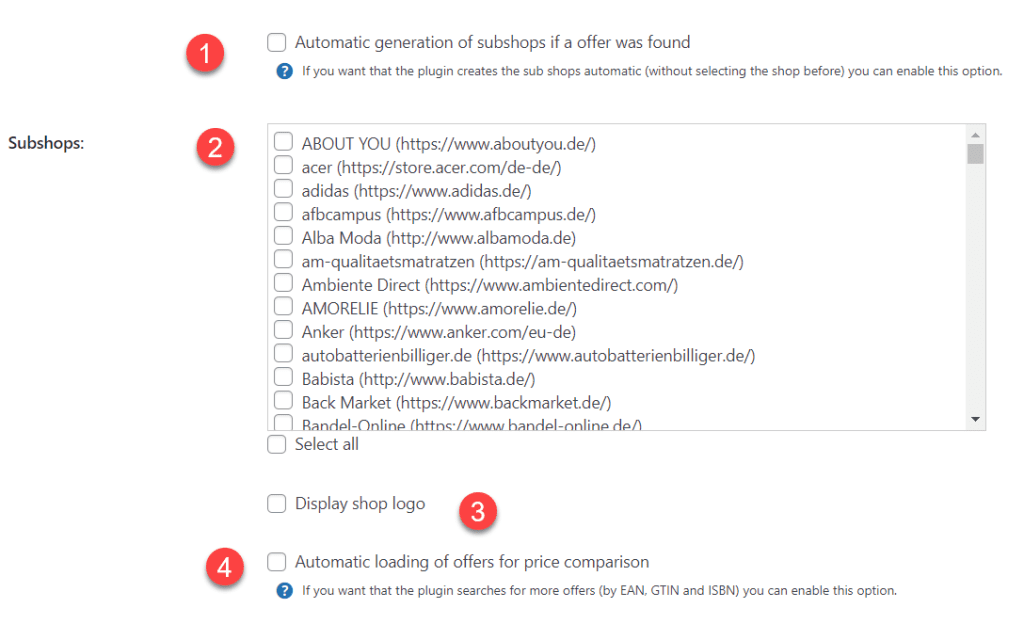
After you have saved the store, all activated partners will be listed.

If the product is found in a store that has not been activated, the interface will automatically create this store and link the product.
Now select all stores (by checkbox) which you want to use. These stores are created as a subordinate store after saving.
Afterwards you can see that the store was created as a subordinate store:

Select whether you want to display store logos. Otherwise, the store name is displayed.
If this option is activated, the plugin will automatically search for a matching offer in these stores using the EAN of the product.
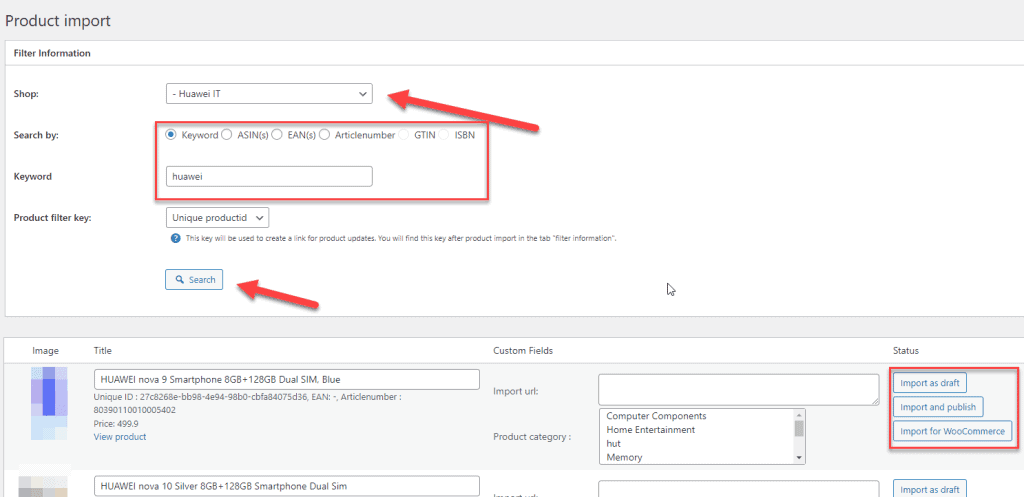
The most comfortable way is the import via the WordPress backend. affiliate-toolkit offers its own search mask here.

Select "Product import" in the menu and then the subordinate billiger.de store. You can search by keyword, ASiN, EAN. Enter the keyword and click "Search".
Now click through the search results. Once you have found the product, you can import the products on the right side.
A list is a group of products. You can create search lists and also extended lists here. We have also written a separate article on this.
We have written a separate article on this. You can find it here. You can find the explanation for shortcodes here.
You are currently viewing a placeholder content from Facebook. To access the actual content, click the button below. Please note that doing so will share data with third-party providers.
More InformationYou need to load content from hCaptcha to submit the form. Please note that doing so will share data with third-party providers.
More InformationYou need to load content from reCAPTCHA to submit the form. Please note that doing so will share data with third-party providers.
More InformationYou need to load content from reCAPTCHA to submit the form. Please note that doing so will share data with third-party providers.
More InformationYou need to load content from reCAPTCHA to submit the form. Please note that doing so will share data with third-party providers.
More InformationYou need to load content from Turnstile to submit the form. Please note that doing so will share data with third-party providers.
More InformationYou are currently viewing a placeholder content from Instagram. To access the actual content, click the button below. Please note that doing so will share data with third-party providers.
More InformationYou are currently viewing a placeholder content from X. To access the actual content, click the button below. Please note that doing so will share data with third-party providers.
More Information